New Gauges From IMTS: Audit-Ready on Day One
You'll sign POs on the IMTS floor. Here's the day-one workflow that makes every new gauge audit-ready under ISO 9001 7.1.5.2 before its first cut.
New Gauges From IMTS: Audit-Ready on Day One
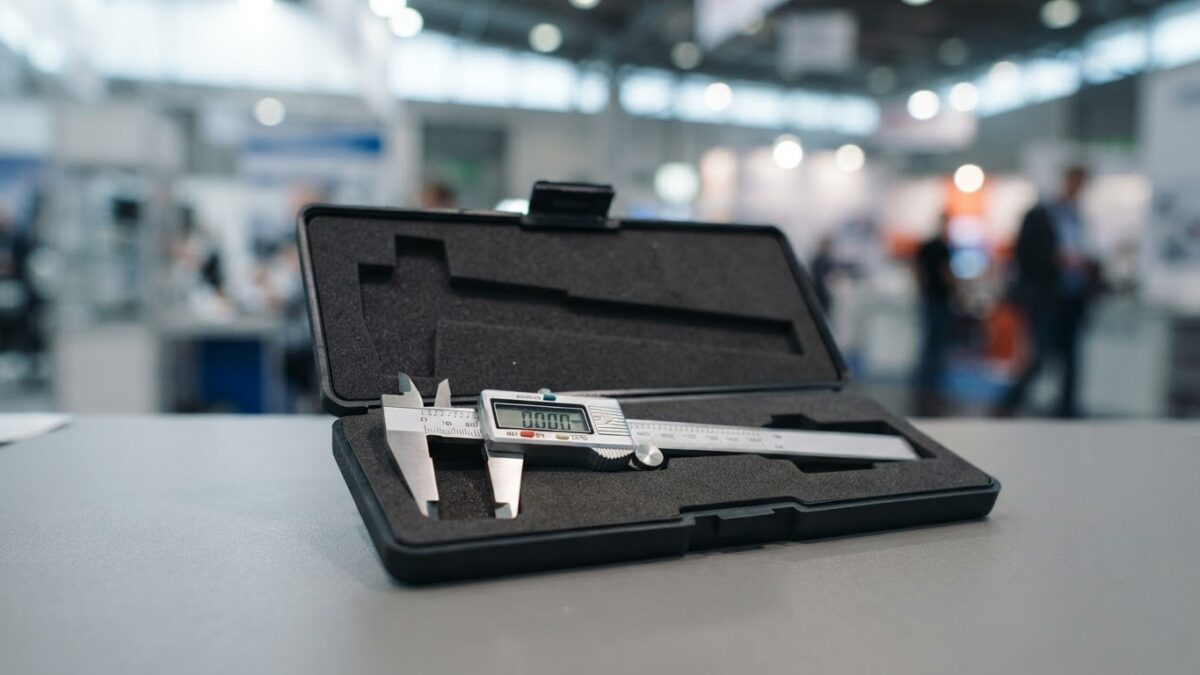
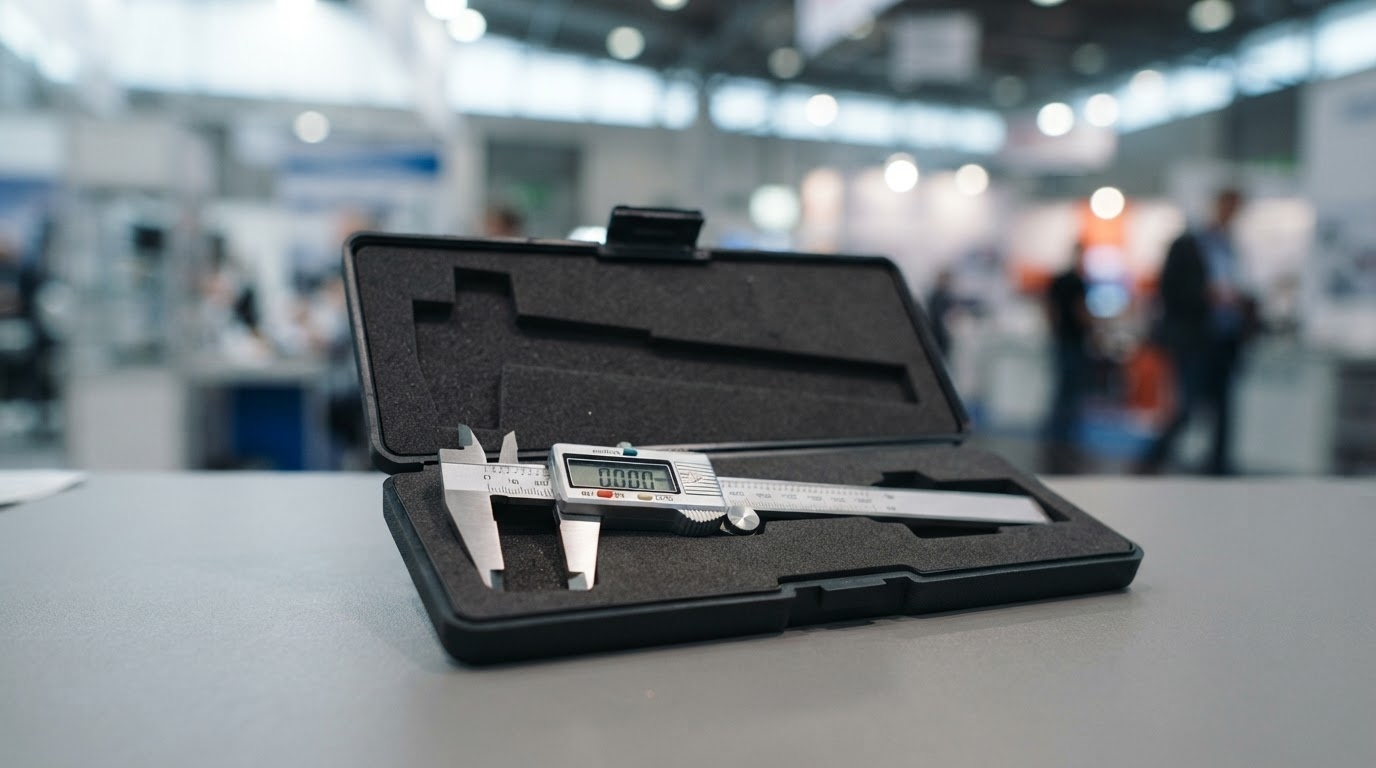
The box arrives three weeks after the show. Inside is the digital caliper your team fell in love with at the booth — the one that read to the micron, felt solid in the hand, and closed the deal before you’d left McCormick Place. A technician unpacks it, admires it, and sets it on the bench next to the parts running that afternoon. By lunch it has measured its first feature. And at that exact moment, without anyone deciding it, you have an uncontrolled instrument determining product conformity.
That is the quiet gap after every IMTS. POs get signed on the floor — it’s the most decisive buying week in US manufacturing — and the instruments show up in September and October with no record behind them. They work perfectly out of the box, which is precisely the problem: "it works" is not "it’s verified," and an auditor knows the difference.
"It’s brand new — surely it’s fine"
This is the objection I hear most, and it feels reasonable. The instrument left the manufacturer with a certificate. It has never been dropped. Why treat a factory-fresh caliper like a suspect gauge?
Because the standard doesn’t grant a grace period for newness. ISO 9001 clause 7.1.5.2 requires that monitoring and measuring equipment used to verify conformity be calibrated or verified against standards traceable to national or international measurement standards — at defined intervals or prior to use. IATF 16949 and AS9100 inherit and tighten the same requirement. "Prior to use" is the operative phrase. The clock is not the manufacture date or the purchase date; it is the first time the instrument accepts a part. A supplier’s certificate is a useful input, but it certifies the unit as it left their lab, in their environment, before it shipped across the country in a truck. It is not your record, it carries no due date in your system, and it says nothing about how the gauge reads on your bench.
There is also a subtler trap. Dimensional specifications are defined at 20 °C (ISO 1). The booth where you fell for that caliper was climate-controlled; your receiving dock in October is not. Verifying the instrument on arrival, in your conditions, against your traceable reference, is how you convert a vendor’s claim into your evidence.
The two numbers a receiving check should capture
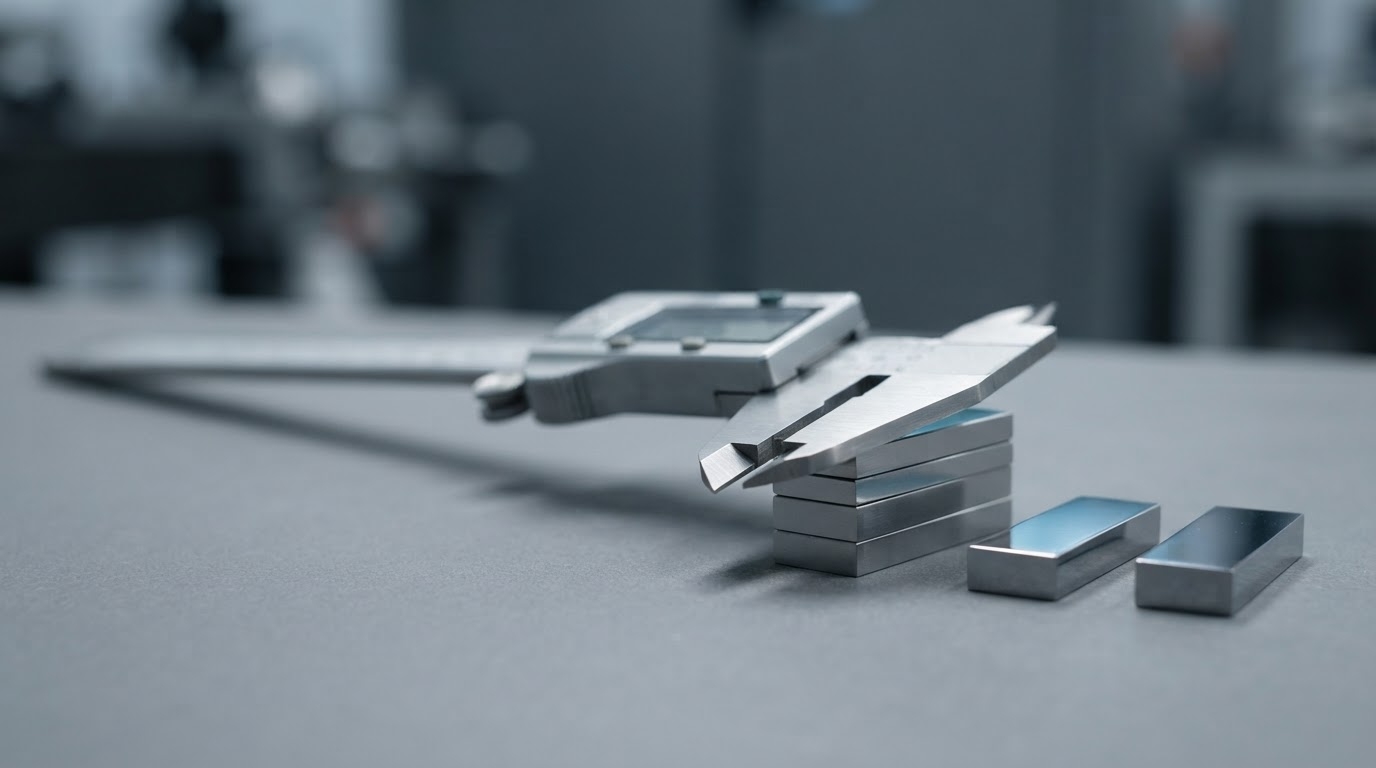
Verification-prior-to-use is not a rubber stamp. Done properly, it produces an as-found and an as-left result — the reading the instrument gave before any adjustment, and the reading after. For a brand-new gauge the two are usually identical, and that is exactly the point: you now have documented proof the instrument was within tolerance the first time it touched work, checked against a traceable master such as a wrung stack of gauge blocks. If it ever comes back out of tolerance later, that first as-found record is the anchor that lets you bound the impact instead of recalling everything the gauge ever measured.
A worked example
Say the caliper arrives October 6. Your procedure for digital calipers sets a 12-month recall interval. Here is day-one onboarding, start to finish:
- Register the instrument. It gets a unique ID, a type, a location, and an owner. Until this exists, the gauge is invisible to every report you’ll ever hand an auditor.
- Run the initial verification. A technician checks it against traceable gauge blocks, records as-found and as-left, and attaches the supplier certificate as a reference document.
- Set the due date — automatically. From the verification date plus the 12-month interval, the next calibration due date computes to October 6 next year. Nobody types it into a spreadsheet cell that later gets sorted wrong.
- Bind the procedure. The caliper inherits the standard calibration procedure template for its type, so the method is controlled and repeatable — and can be overridden for this one unit if it needs it.
- Put it under control. From now on the instrument’s status is live: in-cal, due, or overdue, visible at the point of use.
The whole sequence takes minutes. The alternative — "we’ll add it to the system later" — is a containment problem waiting to happen. Every part that gauge measures before it’s verified is a part you cannot defend.
How PrüfDesk closes the loop
This is the workflow PrüfDesk is built around. You register the new gauge, log its initial verification with as-found/as-left values and the certificate, and the calibration due date is auto-calculated from the interval — no manual date math. A reusable procedure template applies across every caliper of that type while still allowing a per-unit override, so a floor full of IMTS purchases onboards consistently instead of one improvised checklist at a time.
Then the system holds the line. Configurable overdue blocking lets each tenant decide whether an out-of-cal instrument is a hard block or a soft warning at the point of use, so a gauge can’t silently slip past its due date mid-shift. Check-out and allocation tracking keeps a full possession audit trail. And when the auditor asks the inevitable question — show me the status and history of this instrument — an audit-ready PDF report answers it in one click, with the traceability chain intact back to that first receiving check.
A short receiving checklist for post-IMTS gauges
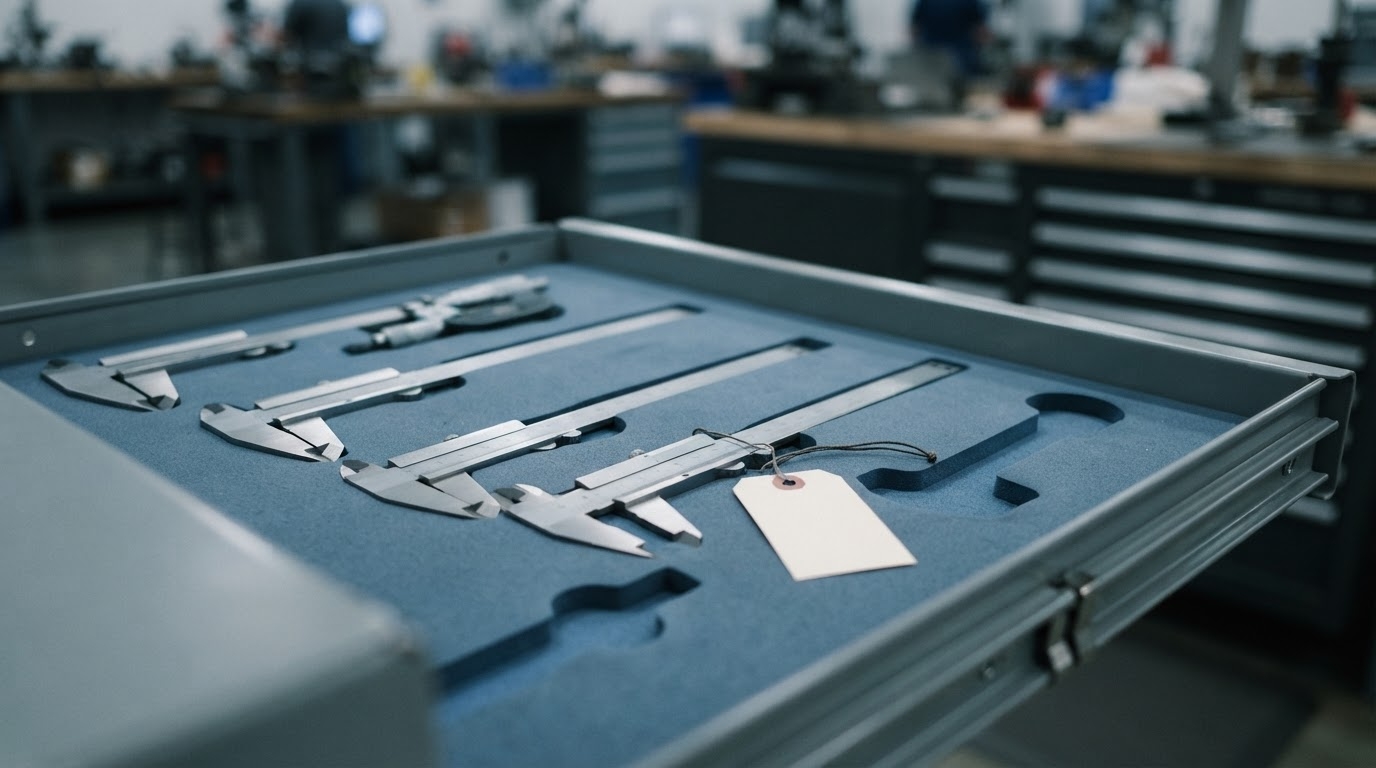
- Register every new instrument before it measures a single part — ID, type, location, owner.
- Verify prior to use against a traceable reference; record as-found and as-left.
- Attach the supplier’s certificate as a reference, not as your only proof.
- Let the due date compute from the interval; don’t hand-type it.
- Apply the type’s procedure template; override only where the unit demands it.
- Confirm the overdue behavior — block or warn — matches your risk tolerance.
The instruments you saw on the floor are genuinely good; the digital thread and smart-gauge story around them is real. But none of it defends a result on its own. What defends the result is knowing, on the day the gauge arrives, that it’s registered, verified, due-dated and under control — before its first cut.
If your post-show plan already includes a way to absorb new purchases on day one, you’re ahead. If it’s still "we’ll get to it," that’s the gap worth closing before the boxes land. When you’re ready, PrüfDesk can walk you through onboarding one of your own instruments end to end.